Stop Spending! DIY Dog Collar for Under $10

Anúncios
Stop buying expensive dog collars and learn how to craft a durable, custom dog collar for under $10 with this easy DIY guide, saving money and giving your furry friend a unique accessory.
Tired of overpriced dog collars that don’t last? Learn how to stop buying expensive collars and create a durable, custom dog collar for your furry friend for under $10. This DIY project is not only budget-friendly but also allows you to express your creativity and tailor the collar to your dog’s unique style and needs.
Anúncios
Why DIY Dog Collars are a Game-Changer
Making your own dog collar is more than just a fun project; it’s a practical solution to several common problems. You can save money, customize the fit and style, and ensure the collar is durable enough to withstand your dog’s adventures. Discover the compelling reasons to ditch store-bought collars and embrace the DIY approach.
Cost Savings and Budget-Friendly Fun
Commercial dog collars can be surprisingly expensive, especially if you’re looking for something durable and stylish. By crafting your own, you significantly reduce costs.
Anúncios
Customization and Personalization
One of the best things about DIY projects is the ability to customize. You can choose the exact materials, colors, and patterns to create a unique collar that reflects your dog’s personality.
- Select materials that are comfortable for your dog.
- Incorporate reflective elements for added safety during evening walks.
- Personalize the collar with your dog’s name or a fun design.
DIY collars offer unparalleled customization, allowing you to create a truly unique accessory for your beloved pet.
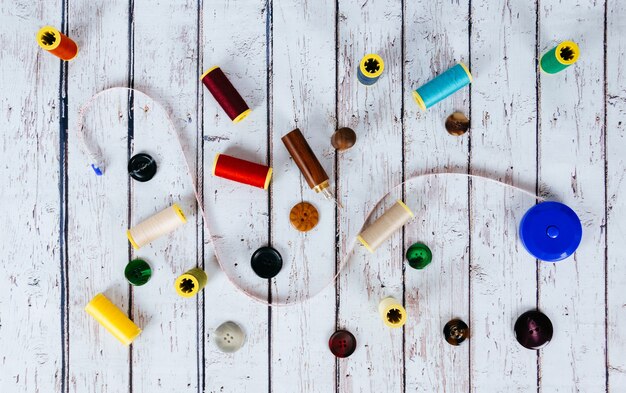
Essential Materials for Your DIY Dog Collar
Before you start crafting, gather the necessary materials. The key to a durable and comfortable collar lies in selecting the right components. Here’s a list of essentials that will help you create a fantastic DIY dog collar.
Choosing the Right Webbing
Webbing forms the foundation of your dog collar, so it’s crucial to choose a material that’s both strong and comfortable. Nylon and polypropylene are popular choices because they are durable and resistant to wear and tear.
Buckles, D-Rings, and Fasteners
The buckle and D-ring are crucial for securing the collar and attaching a leash. Opt for sturdy, high-quality hardware that can withstand daily use.
- Consider side-release buckles for easy on-and-off functionality.
- Ensure the D-ring is securely attached to the webbing.
- Choose rust-resistant materials for long-lasting durability.
By carefully selecting your materials, you can create a DIY dog collar that’s both stylish and safe for your furry friend.
Step-by-Step Guide to Crafting Your Collar
Now that you have your materials, it’s time to start crafting! Follow this step-by-step guide to create a durable and custom dog collar that fits your dog perfectly. Each step is designed to be simple and easy to follow, ensuring a successful project, even for beginners.
Measuring Your Dog’s Neck
Accurate measurements are essential for a comfortable and secure fit. Use a flexible measuring tape to measure around your dog’s neck, leaving enough room to slip two fingers between the tape and their neck.
Measure twice, cut once! Be sure to add an extra inch or two to your measurement to allow for adjustments.
Assembling the Collar
With your materials prepped, begin assembling the collar. Thread the webbing through the buckle and D-ring, securing it in place with strong stitches or rivets.
- Use a sewing machine for added durability and speed.
- Reinforce the stitching around the buckle and D-ring multiple times.
- Ensure the ends of the webbing are neatly finished to prevent fraying.
Assembling your DIY dog collar requires careful attention to detail, but the result is a custom-fit accessory that’s both durable and stylish.
Adding Unique Touches and Personalization
Once you’ve created the basic collar, it’s time to add unique touches that reflect your dog’s personality. Embellishments and personalization make your DIY dog collar stand out.
Embellishments and Decorative Elements
Adding embellishments can transform a simple collar into a stylish accessory. Consider using colorful beads, decorative stitching, or even small charms to personalize the collar.
Make sure any embellishments are securely attached and won’t pose a choking hazard to your dog.
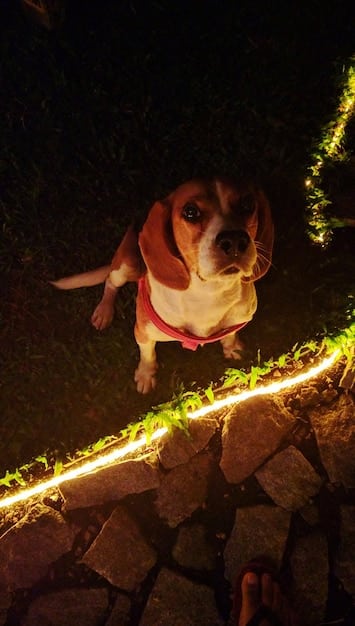
Reflective Tape and Safety Features
Enhance your dog’s safety by incorporating reflective tape or LED lights into the collar design. These features improve visibility during evening walks and outdoor adventures.
- Apply reflective tape along the length of the webbing.
- Attach small LED lights for added visibility.
- Use high-quality reflective materials for maximum effectiveness.
By adding unique touches and safety features, you can create a DIY dog collar that’s both stylish and functional, ensuring your dog looks great and stays safe.
Ensuring Safety and Durability
While aesthetics are important, safety and durability are paramount when crafting a dog collar. Take extra precautions to ensure your DIY collar can withstand daily wear and tear, keeping your dog safe and secure.
Testing the Collar’s Strength
Before using the collar regularly, test its strength by gently pulling and tugging on it. Check for any signs of weakness or potential failure points.
Regular Maintenance and Inspections
Regularly inspect the collar for signs of wear and tear, such as frayed webbing or loose stitching. Repair or replace the collar as needed to maintain its integrity.
- Check the buckle and D-ring for rust or damage.
- Examine the stitching for loose threads or unraveling.
- Replace the collar immediately if you notice any significant damage.
By ensuring safety and durability, you can rest assured that your DIY dog collar will keep your furry friend secure during all their adventures.
Troubleshooting Common Issues
Even with the best planning, you might encounter some challenges when crafting your DIY dog collar. Here are some common issues and their solutions to help you achieve success.
Webbing That Frays Easily
If the webbing frays easily, use a lighter to gently melt the edges and prevent further unraveling. Alternatively, you can apply a fabric sealant to the edges.
Buckle That Doesn’t Stay Closed
If the buckle doesn’t stay closed, ensure it’s the correct size for the webbing. Consider replacing it with a higher-quality buckle designed for heavy-duty use.
- Check the buckle’s compatibility with the webbing width.
- Try a different type of buckle, such as a metal side-release buckle.
- Ensure the buckle is securely attached to the webbing.
By troubleshooting common issues, you can overcome challenges and create a DIY dog collar that meets your standards for quality and durability.
| Key Point | Brief Description |
|---|---|
| 💰 Cost Savings | DIY collars are much cheaper than store-bought ones. |
| 🎨 Customization | Tailor the collar to your dog’s personality and needs. |
| 💪 Durability | Choose strong materials that withstand daily wear. |
| 🛡️ Safety | Add reflective tape for better visibility. |
Frequently Asked Questions
▼
Nylon and polypropylene webbing are excellent choices due to their durability and resistance to wear. They are also comfortable for your dog to wear daily.
▼
Use a flexible measuring tape around your dog’s neck, leaving enough space to slip two fingers between the tape and their neck for a comfortable fit.
▼
Yes, adding reflective tape is a great way to improve your dog’s visibility and safety during evening walks or in low-light conditions.
▼
Opt for a sturdy, high-quality side-release buckle made of plastic or metal. Ensure it’s easy to use and can withstand daily wear and tear.
▼
Regularly inspect the collar, at least once a month, for frayed webbing, loose stitching, or damaged hardware. Replace or repair as needed to ensure safety.
Conclusion
Crafting a DIY dog collar is a rewarding project that offers significant cost savings, customization options, and the satisfaction of creating something unique for your furry friend. By following this guide, you can stop buying expensive collars and create a durable, safe, and stylish collar for under $10. Get creative, have fun, and enjoy the process of making a personalized accessory that your dog will love.


