DIY Pet Toy Sensation: Interactive Puzzle Feeder for 2025

Anúncios
The interactive puzzle feeder, a DIY pet toy poised to be a sensation in 2025, offers mental stimulation and slow feeding, promoting better digestion and preventing boredom in pets, all while being customizable and budget-friendly to create in an afternoon.
Get ready to unleash your inner craftsperson and treat your furry friend to the purr-fect playtime upgrade! In 2025, the hottest DIY pet toy: the interactive puzzle feeder you can make in an afternoon is set to be a game-changer for pet enrichment.
Anúncios
Why Interactive Puzzle Feeders are a Must-Have in 2025
Interactive puzzle feeders aren’t just trendy; they’re an investment in your pet’s well-being. These toys tap into your pet’s natural instincts, challenging them mentally and physically.
The Mental and Physical Benefits
Puzzle feeders require pets to problem-solve to access their food or treats. This mental stimulation helps to combat boredom, reduces anxiety, and can even slow down eating, improving digestion.
Anúncios
Cost-Effectiveness and Customization
Compared to store-bought enrichment toys, DIY puzzle feeders are incredibly cost-effective. You can use materials you already have around the house and customize the difficulty level to suit your pet’s abilities.
DIY puzzle feeders can range from simple to complex, ensuring there’s a design suitable for every pet and owner.
Here are some reasons why you should make one for your pet:
- Reduces boredom and destructive behaviors.
- Provides mental stimulation and enriches their lives.
- Slows down eating, preventing bloating and digestive issues.
- Offers a fun bonding activity for you and your pet.
In conclusion, interactive puzzle feeders are more than just toys; they are tools to enhance your pet’s quality of life.
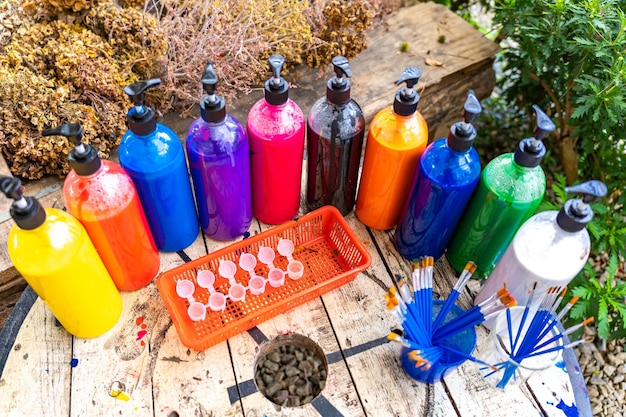
Gathering Your Supplies: What You’ll Need
Before you begin crafting your hottest DIY pet toy, it’s essential to gather the right supplies. Fortunately, many of these items are likely already in your home.
Essential Materials
You’ll need items such as plastic bottles, cardboard boxes, PVC pipes, and non-toxic glue. These materials are safe, durable, and readily available. Ensure all plastic and cardboard are clean.
Tools You’ll Use
Basic tools like scissors, craft knives, measuring tapes, and markers will come in handy. A hot glue gun can also be beneficial for assembling more complex designs.
Safety precautions are crucial.
- Always supervise your pet during the construction and initial use of the toy.
- Avoid small parts that could be a choking hazard.
- Use non-toxic materials and construction to ensure your pet’s safety.
Having all your supplies and tools organized ahead of time will ensure a smooth and enjoyable crafting experience.
Step-by-Step Guide: Crafting the Puzzle Feeder
Now for the fun part: bringing your hottest DIY pet toy to life! Follow these step-by-step instructions to create an engaging puzzle feeder.
Design Your Feeder
Start by sketching out a design. Consider your pet’s size, breed, and problem-solving abilities when determining the complexity of the puzzle.
Assembling the Base
Construct the base of your puzzle feeder using cardboard, PVC pipes, or a combination of materials. Ensure the base is sturdy and can withstand your pet’s enthusiasm.
Take these points into consideration:
- Cut the plastic bottles into varying sizes, creating multiple layers.
- Secure the layers using non-toxic glue or screws.
- Test the feeder to ensure it dispenses treats effectively.
Creating your personalized puzzle feeder is both cost-effective and rewarding.
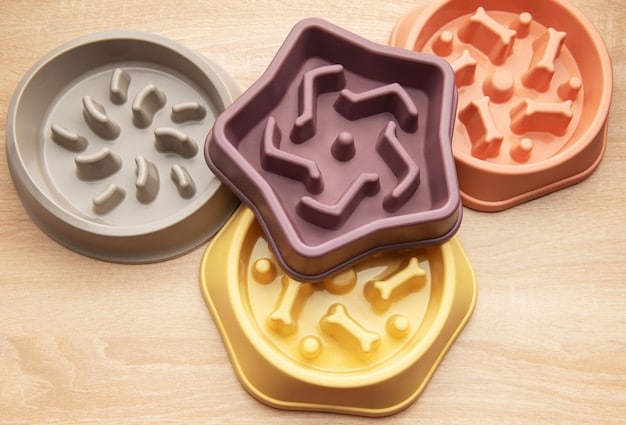
Customization Tips: Tailoring the Feeder to Your Pet
One of the best aspects of making your own DIY pet toy is the ability to customize it to suit your pet’s individual needs and preferences.
Adjusting Difficulty Levels
Make the puzzle easier or more challenging depending on your pet’s current abilities. Start with a simple design and gradually increase the difficulty as they become more adept.
Incorporating Sensory Elements
Add elements like crinkly paper, bells, or different textures to engage your pet’s senses and maintain their interest.
Remember to consider your pet’s individual preferences.
Here are some sensory upgrades:
- Add a squeaker for an added layer of fun.
- Incorporate your pet’s favorite scents, using catnip or essential oils.
- Customize painting to match your home decor.
These suggestions add an extra layer of customization to the DIY puzzle feeder.
Ensuring Safety: The Most Important Consideration
While crafting your fabulous hottest DIY pet toy, safety should always be your top priority. Using the right materials and construction techniques are essential to ensure a safe playtime experience for your beloved pet.
Choosing Non-Toxic Materials
Always use non-toxic glues, paints, and materials. Pets often chew on their toys, so ensuring everything is safe to ingest is crucial.
Eliminating Hazards
Regularly inspect the puzzle feeder for any loose parts or sharp edges. Replace or repair the toy immediately if you notice signs of wear and tear.
Ensure a safe playtime experience by:
- Removing any labels or small parts that could be ingested.
- Sanding down any rough edges to prevent cuts.
- Supervising your pet during the initial play sessions to monitor their behavior with the toy.
Ensuring safety guarantees fun, rewarding playtimes.
Testing and Observing: Introducing the Feeder to Your Pet
Once your hottest DIY pet toy is complete, it’s time to introduce it to your pet. Patience is key; some pets may take to the puzzle feeder immediately, while others may need encouragement.
Initial Introduction
Place the feeder near your pet and let them investigate it at their own pace. Add high-value treats or kibble to the feeder to entice them to interact.
Supervised Playtime
During the initial sessions, supervise your pet closely to ensure they use the feeder safely and effectively. Guide them if necessary, but avoid doing the puzzle for them.
Positive reinforcement provides further incentive.
- Offer verbal praise and gentle guidance when your pet successfully retrieves a treat.
- Avoid scolding or punishing your pet if they struggle with the puzzle.
- Adjust the difficulty level based on your pet’s performance.
Watching them enjoy the toy you created will be deeply satisfying.
Troubleshooting Common Issues
Even with the best preparation, you might encounter challenges when introducing your hottest DIY pet toy. Here are some common issues and how to address them:
Pet Not Interested
If your pet shows no interest, try using higher-value treats or apply a scent that they love, such as catnip or peanut butter.
Puzzle Too Difficult
If your pet becomes frustrated, simplify the puzzle by removing some of the obstacles or making the openings larger.
Use these methods to resolve the puzzle feeder issues.
- If the feeder is too easy, add layers or more complex elements to increase the challenge.
- Clean the puzzle feeder regularly to maintain hygiene.
- Ensure all components are intact to keep it functional.
With a bit of patience and creativity, you can overcome any challenges and provide your pet with stimulating enrichment.
| Key Point | Brief Description |
|---|---|
| 💡 Mental Stimulation | Keeps pets engaged and reduces boredom. |
| 💰 Cost-Effective | Uses recycled materials and reduces toy costs. |
| 🐾 Health Benefits | Promotes slower eating and improves digestion. |
| 🛠️ Customization | Tailor designs to your pet’s specific needs and abilities. |
Frequently Asked Questions
▼
Safe materials include clean plastic bottles, cardboard, PVC pipes, and non-toxic glues. Avoid small parts that could be choking hazards, and always supervise your pet during playtime.
▼
Clean your puzzle feeder regularly with warm, soapy water. Make sure to rinse it thoroughly and allow it to dry completely before giving it back to your pet to prevent mold growth.
▼
Increase the difficulty by creating more layers, using smaller openings, or adding complex mechanisms that require your pet to perform multiple steps to get the treat.
▼
Yes, supervision is crucial, especially during the initial play sessions, to ensure your pet uses the feeder safely and doesn’t ingest any small parts or damage the components.
▼
Try using high-value treats or applying scents like catnip for cats or peanut butter for dogs. You can also start with an easier version of the puzzle to build their confidence and interest.
Conclusion
Creating an interactive puzzle feeder is a fantastic way to enhance your pet’s life in 2025. By following these tips and guidelines, you can provide endless hours of mental and physical stimulation while strengthening the bond you share with your beloved companion.


