DIY Rabbit Hutch Upgrade: Expand Space for Under $40
Anúncios
Upgrading your rabbit hutch doesn’t have to be expensive; with some creativity and basic materials, you can significantly expand your rabbit’s living space for under $40, enhancing their comfort and quality of life.
Thinking about giving your furry friend more room to roam without breaking the bank? A DIY rabbit hutch upgrade: expand your rabbit’s living space for under $40 is totally achievable and a rewarding project for both you and your bunny.
Anúncios
Why Upgrade Your Rabbit Hutch?
Before diving into the how-to, let’s explore why upgrading your rabbit hutch is a fantastic idea. It’s not just about aesthetics; it’s about providing a comfortable, enriching environment for your pet.
Improved Well-being
Rabbits need space to hop, explore, and exhibit natural behaviors. A cramped hutch can lead to boredom, stress, and even health problems. An upgrade gives them the freedom to move around, stay active, and enjoy a happier life.
Anúncios
Cost-Effective Solution
Buying a brand-new, larger hutch can be expensive. By opting for a DIY upgrade, you can save a significant amount of money while still providing your rabbit with ample space.
Enhanced Enrichment
A larger hutch allows for more enrichment opportunities. You can add toys, tunnels, and digging boxes to keep your rabbit entertained and mentally stimulated.
Upgrading your rabbit hutch provides more space, improves well-being, and offers enhanced enrichment. Let’s consider what you’ll need to get started.
Planning Your DIY Rabbit Hutch Upgrade
Effective planning is key to a successful DIY project. Before you start gathering materials and tools, take some time to map out your upgrade.
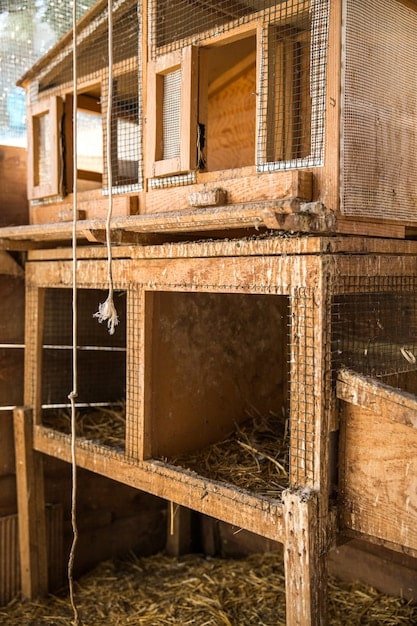
- Assess your current hutch: Determine its dimensions and identify areas that can be expanded.
- Measure available space: Decide where the upgraded hutch will be located and measure the available space to ensure it fits comfortably.
- Sketch your design: Draw a rough sketch of your desired upgrade, including any additional levels, tunnels, or enrichment features.
Material Selection
One of the secrets to keeping your upgrade under $40 is selecting cost-effective materials. Here are some suggestions:
- Repurposed wood: Use old pallets, fence boards, or plywood scraps.
- Wire mesh: Opt for chicken wire or hardware cloth for creating secure walls and floors.
- Fasteners: Screws, nails, and zip ties are essential for assembling your upgrade.
Tools You’ll Need
Gathering the necessary tools before you start will streamline the building process. Some essential tools include:
- Measuring tape: For accurate measurements.
- Saw: For cutting wood to size.
- Drill: For attaching wood pieces and creating pilot holes.
- Staple gun: For securing wire mesh to the frame.
Planning is the first step in your project, next up will be building the upgraded hutch.
Step-by-Step Guide to Expanding Your Hutch
With your plan in place and materials gathered, it’s time to get building! This step-by-step guide will walk you through the process of expanding your rabbit hutch.
Building the Frame
Start by constructing a sturdy frame for your expansion. You can use repurposed wood to create a simple rectangular or square frame. Ensure the frame is level and securely fastened together.
Adding Wire Mesh
Next, attach wire mesh to the frame to create walls and floors. Use a staple gun to secure the mesh, ensuring there are no gaps or sharp edges that could harm your rabbit. Overlap the edges of the mesh for added security.

Creating Ramps and Levels
If you’re adding multiple levels to your hutch, create ramps to connect them. You can use wood scraps and wire mesh to build simple, sloping ramps. Ensure the ramps are not too steep and provide good traction for your rabbit.
Remember to focus on building a strong frame for your rabbit’s enhanced living space.
Ensuring Safety and Comfort
While expanding your rabbit hutch is exciting, ensuring your pet’s safety and comfort should be your top priority. Here are some essential considerations:
Smooth Surfaces
Check all surfaces for splinters, sharp edges, or exposed nails that could injure your rabbit. Sand down any rough spots and cover sharp edges with tape or trim.
Proper Ventilation
Ensure the hutch has adequate ventilation to prevent the build-up of ammonia and other harmful gases. Proper airflow will keep your rabbit healthy and comfortable.
Weather Protection
If the hutch is located outdoors, provide adequate protection from the elements. A solid roof and windbreaks can help shield your rabbit from rain, wind, and sun.
- Use non-toxic materials.
- Provide shade from the sun.
- Check regularly for damage.
Prioritizing health and safety is paramount when creating the DIY hutch.
Adding Enrichment and Personal Touches
Once the basic structure of your upgraded hutch is complete, it’s time to add enrichment features and personal touches to make it a truly special space for your rabbit.
Toys and Chews
Provide a variety of toys and chews to keep your rabbit entertained and prevent boredom. Cardboard boxes, toilet paper rolls, and untreated wood blocks are all great options.
Digging Box
Rabbits love to dig, so consider adding a digging box filled with shredded paper, hay, or soil. This will provide them with a natural outlet for their digging instincts.
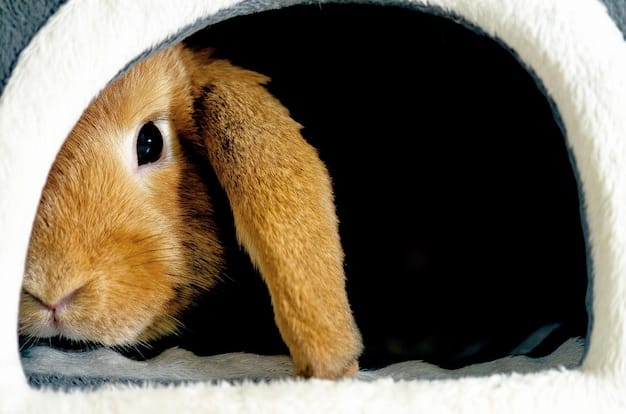
Cozy Hideaways
Provide your rabbit with cozy hideaways where they can retreat and feel secure. Cardboard boxes, small tents, or covered beds are all excellent choices.
Making sure your rabbit is as happy and comfortable as possible is achievable when following the right steps, and adding personal touches can improve their living space.
Maintaining Your Upgraded Hutch
Maintaining your upgraded rabbit hutch is essential for keeping your pet healthy and happy. Regular cleaning and upkeep will prevent the build-up of bacteria and ensure the hutch remains a safe and comfortable environment.
Daily Spot Cleaning
Remove soiled bedding and droppings daily to prevent odors and bacterial growth. Pay particular attention to areas where your rabbit urinates or defecates frequently.
Weekly Deep Cleaning
Once a week, completely empty the hutch and scrub all surfaces with a mild soap and water solution. Rinse thoroughly and allow the hutch to dry completely before replacing bedding and toys.
Regular Inspections
Regularly inspect the hutch for damage, such as broken wires, loose screws, or splinters. Repair any damage promptly to prevent injuries to your rabbit.
| Key Point | Brief Description |
|---|---|
| 🔨 Planning the Upgrade | Assess space and design before starting. |
| 🛠️ Building the Frame | Use repurposed wood for a cost-effective structure. |
| 🐰 Ensuring Safety | Smooth surfaces and proper ventilation are crucial. |
| 🧽 Maintaining Cleanliness | Regular cleaning prevents odors and bacteria. |
Frequently Asked Questions
▼
Repurposed wood, like pallets or fence boards, and wire mesh are excellent choices. They are cost-effective and can be easily adapted to your hutch design.
▼
Check for sharp edges, splinters, and loose fasteners. Use non-toxic materials and ensure there is proper ventilation to prevent ammonia buildup.
▼
Include toys, chews, a digging box, and cozy hideaways. Variety keeps your rabbit entertained and mentally stimulated, preventing boredom and destructive behaviors.
▼
Spot clean daily to remove soiled bedding and droppings. Perform a deep clean weekly, scrubbing all surfaces with a mild soap and water solution to prevent health issues.
▼
Hardware cloth is better than chicken wire as it is more durable and has smaller openings, preventing your rabbit’s feet from getting caught and injured and ensuring their well-being..
Conclusion
Upgrading your rabbit hutch on a budget is not only possible but incredibly rewarding. By following these tips and getting creative with your design, you can significantly improve your rabbit’s living space for under $40.


